A week ago, I was in Wisconsin to attend Gary Con X, a gaming convention held to remember the life of game designer and co-creator of Dungeons & Dragons, Gary Gygax. It was the seventh Gary Con I attended and it was good to be back in the gaming motherland.
Gary Con is a mixture of role-playing and miniature wargaming events (the former having evolved from the latter). I usually run RPG sessions while I'm there, but play in miniature wargaming events as I seldom get the chance to play by classic wargame rules such as Chainmail.
After seeing it set-up and played several Gary Cons in a row, I finally got to experience the glory that is "Orc's Drift." This is an alternate history historical miniatures wargame scenario where the British defending Rorke's Drift find themselves not under siege by the Zulus, but by a horde of orcs fresh from Isengard. I was duly elected the war-leader of the orcs and, despite having to leave 15 minutes early, led my forces to victory over the vile British invaders of the sacred orc motherland. I mostly did this by agreeing to whatever strategy was proposed by my fellows and trying to roll high on the dice whenever possible.
I stopped by the table later in the con and noticed that the previous game had a lot more orc casualties, leading me to believe the British won that game. I'll take our early Friday victory as a testament to my superior leadership skills and the valor (or bloodthirst) of my under-commanders.
While the game uses Chainmail rules to resolve the battle, the figures are all from the Games Workshop line of Lord of the Rings SBG miniatures. Seeing them arrayed out on the table and facing off against stiff-lipped British infantry was a hoot-and-a-half. Winning the battle was even better. Below are some photos from the event. You can watch the battle-mad orcs advance, hungry for man-flesh, and their eventual overwhelming assault on the British outpost.
Showing posts with label uruk-hai. Show all posts
Sunday, March 18, 2018
Saturday, February 10, 2018
BGiME #10: Batch Painting
This issue’s project is a bit of repeat. Back in issue #4,
we received our first sprue of Uruk-hai to paint, doing so using the skills and
paints we had at that point. Now, a few months later (in the original release
schedule, anyway), we’re given 10 more fighting Uruk-hai to prepare for the
tabletop. Issue #10’s “Painting Workshop” is primarily concerned with getting these half-score models
finished and ready to fight as quickly as possible.
The Uruk-hai are some of the easiest SBG models to paint. A
good spray primer has them ready for their base coats in no time flat, and the
majority of their armor and weapons can be dry-brushed a dark metallic. A little
edging with a brighter silver paint gives the impression of sharp edges and wear, then a coat
of dark flesh for skin tone and you’re ready to base them and field them. The servants of the
White Hand are pretty formidable with their heavy armor and high Strength
scores. I’d personally recommend them to any newcomer wanting to play the SBG
quickly.
Below are the ten Uruk-hai I painted for this issue. I’ve also
included a comparison photo showing one of the models I painted for issue #4
alongside a more recent paint job. In this case, you can see I’ve started doing
a little more work on my bases, using an Earthshade wash on the sand to make it
look more like soil and not a day at the beach for the Uruk-hai. The newer
paint job is also brighter. I believe this stems from me using
a lighter metallic as a base and instead washing the metallic with a sepia wash
to age the armor. The differences aren’t too great, however, and I can field
both on the same table without them distracting from one another.
Saturday, February 3, 2018
Battle Games in Middle-earth Issue #10 Overview
Double digits at last! This whimsical project has advanced
in fits and starts—and will undoubtedly continue to lurch forward in a similar manner—but
we’ve finally made it to issue #10. And with it, we’re almost at an end of learning
the basics of the Strategy Battle Game. Just in time for a whole new edition to
be released, if signs from Games Workshop are indication. But we’ll cross that Bridge
of Khazad-dûm when we get to it. Let’s look at BGiME #10.
The magazine begins as always with the “Guide to Middle-earth.”
Issue #10 gives us the low down on Saruman’s most brutal warriors: the
fighting Uruk-hai. From their emergence from the birthing pits beneath Orthanc to their
appetite for man-flesh, we learn how Saruman mixes magic and science to create
perhaps the fiercest soldiers of the end of the Third Age. A look at the
Uruk-hai was a natural choice as this issue not only features the conclusion of
the “Burn the Village!” scenario (where the Uruk-hai threaten to massacre the
brave men of Rohan), but also comes with a new sprue of Uruk-hai warriors to add
to our collection.
Moving on to the “Playing the Game” chapter, we learn
a lesson in Courage. Or at least how the Courage stat works in the SBG. There’s
a caveat here, though. The Courage rules presented in issue #10 are the old way
Courage worked in the game. In the original rules as released with The
Fellowship of the Ring boxed set, Courage tests were a much more complex system. When
certain conditions arose, such as after a force had lost 50% or more of its
models (and considered "broken") or a model found itself on its own, each model the condition applied to
had to make a Courage test. This involved rolling 2d6 and adding the model’s
Courage score to the result. If the total was 10+, the model passed its Courage
test and play continued as normal.
However, if a model failed its Courage test, things got complicated.
The model was forced to Retreat, turning directly away from the nearest enemy
model and moving its maximum movement distance in that direction. Its Move was
then over for that turn. If Courage test conditions continued to apply to the
model in subsequent rounds, new tests would have to be made, possibly resulting
in the model fleeing off the board completely and being treated as a casualty
for victory conditions.
This Courage system made concessions towards realism, but
proved awkward in play. Later editions streamlined the rules for Courage.
Models on their own no longer had to make tests. Figures trying to charge a foe
with the Terrifying quality now made their Courage test before moving toward the
model (remaining still if the test failed). In the case of broken forces, any
model failing its test was immediately removed from the board. This method was
much simpler than making consecutive Courage tests until a model left the
field of battle.
Heroes play an important role in Courage tests thanks to the
“Stand Fast!” rule. In short, any Hero that makes its Courage test negates the
need for all friendly models within 6” to make Courage tests of their own. A
stout-hearted Good Hero could prevent the ranks from breaking and fleeing, while
cruel Evil Heroes kept their lackeys in line out of sheer fear.
The chapter closes with the suggestion to go back and
replay some of the old scenarios and see how they turn out with the Courage
tests now invoked. It’s possible “The
Last Alliance” or “Pursuit
of the Ringwraiths” could have much different endings when forces break or
when heroes lose their resolve.
Next up is the conclusion of the “Burn the
Village” battle report the “Battle Game” section. No new scenario is included in
this issue. Instead, we get a post-battle breakdown of the scenario as played
by two employees of Games Workshop. This report covers turns 5-9 and is
well-written, but suffers a bit from photographic demonstrations of the various fights and maneuvers. Nevertheless, it serves as a good example of how the SBG is played and
suggests tactics to newcomers. I won’t reveal how the game turns out, aside
from it had a different ending that either of the matches we played ourselves!
Moving along to the “Painting Workshop,” we’re introduced to
a method that every miniature wargamer who actually wants to play must master:
batch painting. Tips on using spray primer, dry-brushing, using large brushes,
pre-mixing paint, and stage-by-stage (or “assembly line”) painting of models
are all covered. If we follow this advice, we should have our newest 10 Uruk-hai
finished and ready for the table in no time.
The last section, “Modelling Workshop,” presents us with our
most complex piece of tabletop terrain to date: a Rohirrim building. This will
be our first intact building for Middle-earth and the challenge could be quite
daunting. Luckily, the simple shape of the building provides us with some
shortcuts to create an excellent piece of scenery, one that will serve us well
in not only The Lord of the Rings SBG battles but other Dark Age and medieval
period historical wargames such as SAGA or Frostgrave. The finished piece
really is good-looking and the step-by-step directions are instructive without
being opaque.
As we close the issue, the back cover gives us a look at the
next issue headed for the newsagent. We
can look forward to a metal Boromir model, new rules that “set your Heroes
apart from lesser warriors,” an attack at Amon-hen, and how to construct a
standing stone for our battlefields. All this and more await us in issue #11!
With our overview, well, over, let’s take a more detailed
look at what Battle Games in Middle-earth #10 adds to our The Lord of the Rings SBG gaming table, starting
with 10 new Uruk-hai for our inventory of Evil models…
Monday, January 29, 2018
BGiME #9: Burn the Village! Part 1
The scenario in issue #9 is played across two issues as a
battle report recounting the outcome of the battle as fought by two Games
Workshop employees. To reflect this, I’ll discuss the scenario in two parts.
The first is a recap of the battle wherein my friend and regular opponent,
Dave, played the forces of Good while I commanded Evil. For the issue #10
coverage, I’ll discuss how the game turned out when it was my turn to command
the Good warriors of Middle-earth.
“Burn the Village!” features a small Rohan hamlet facing off
against a horde of Uruk-hai. The Rohirrim are outnumbered and facing
heavily-armored enemies. Their only hope is the timely arrival of the Three
Hunters—Aragon, Legolas, and Gimli—who are passing nearby in pursuit of the
captured hobbits when Rohan is attacked. If the Rohirrim can light a signal
beacon calling for aid, the three heroes rush to lend their assistance—hopefully
before the troops of the White Hand burn down the village’s two buildings!
Mechanically, once Good lights the signal
beacon, the Rohan player rolls 1d6 for each of the three heroes on subsequent
turns. If the roll is 4+, that hero arrives on the table side with the beacon
and can charge immediately into battle.
Likewise, in order for the Uruk-hai to burn down a building,
one or more of their models must be in base contact with the structure and not
be involved in combat. Additionally, no Good model can also be in contact with
the building and not be engaged in battle. If these conditions are met, each
applicable Evil model rolls 1d6 and on a result of “6” the building catches
fire and is destroyed.
In the first game, Dave set most of the Rohan warriors up
behind the village’s walls, giving him the benefit of defending an obstacle in the forthcoming fight ("In the way" rolls, single combats, etc. as explained in issue #7). I
had only four archers and arrayed them on either side of the path from the
village to the beacon. It was my hope to kill any Rohan troops running to the
beacon before they could light it. Dave countered by sending two troops off towards
the beacon, while I moved the rest of my forces towards the village from three
sides.
The walls worked in the favor of Rohan at the beginning,
stalling my efforts to get inside the village and kill enough of the Rohirrim
so that I could set the buildings alight unimpeded. Eventually, however, one or
two Rohan Warriors were slain despite the walls’ protection and I sent Uruk-hai
leaping inside the perimeter. Once the levy broke, the tide of the White Hand
overwhelmed the Rohan forces inside.
Dave had terrible luck with reinforcements. He managed to
get the signal beacon lit by the end of Turn 3, but failed every reinforcement
roll (three each round!) to get the Good heroes onto the board and help turn
the tide of battle. He might have gotten Gimli onto the board near the end of the game (it's been awhile since we played this battle and my memory is spotty), but
the dwarf’s short legs didn’t get him anywhere near the fight before I
surrounded the Rohan houses with multiple models and burned them to the ground.
Score one victory for Evil!
Next, it would be me turn to command Rohan. Could I do any
better? We’ll find out when coverage of Battle Games in Middle-earth #10 occurs
shortly!
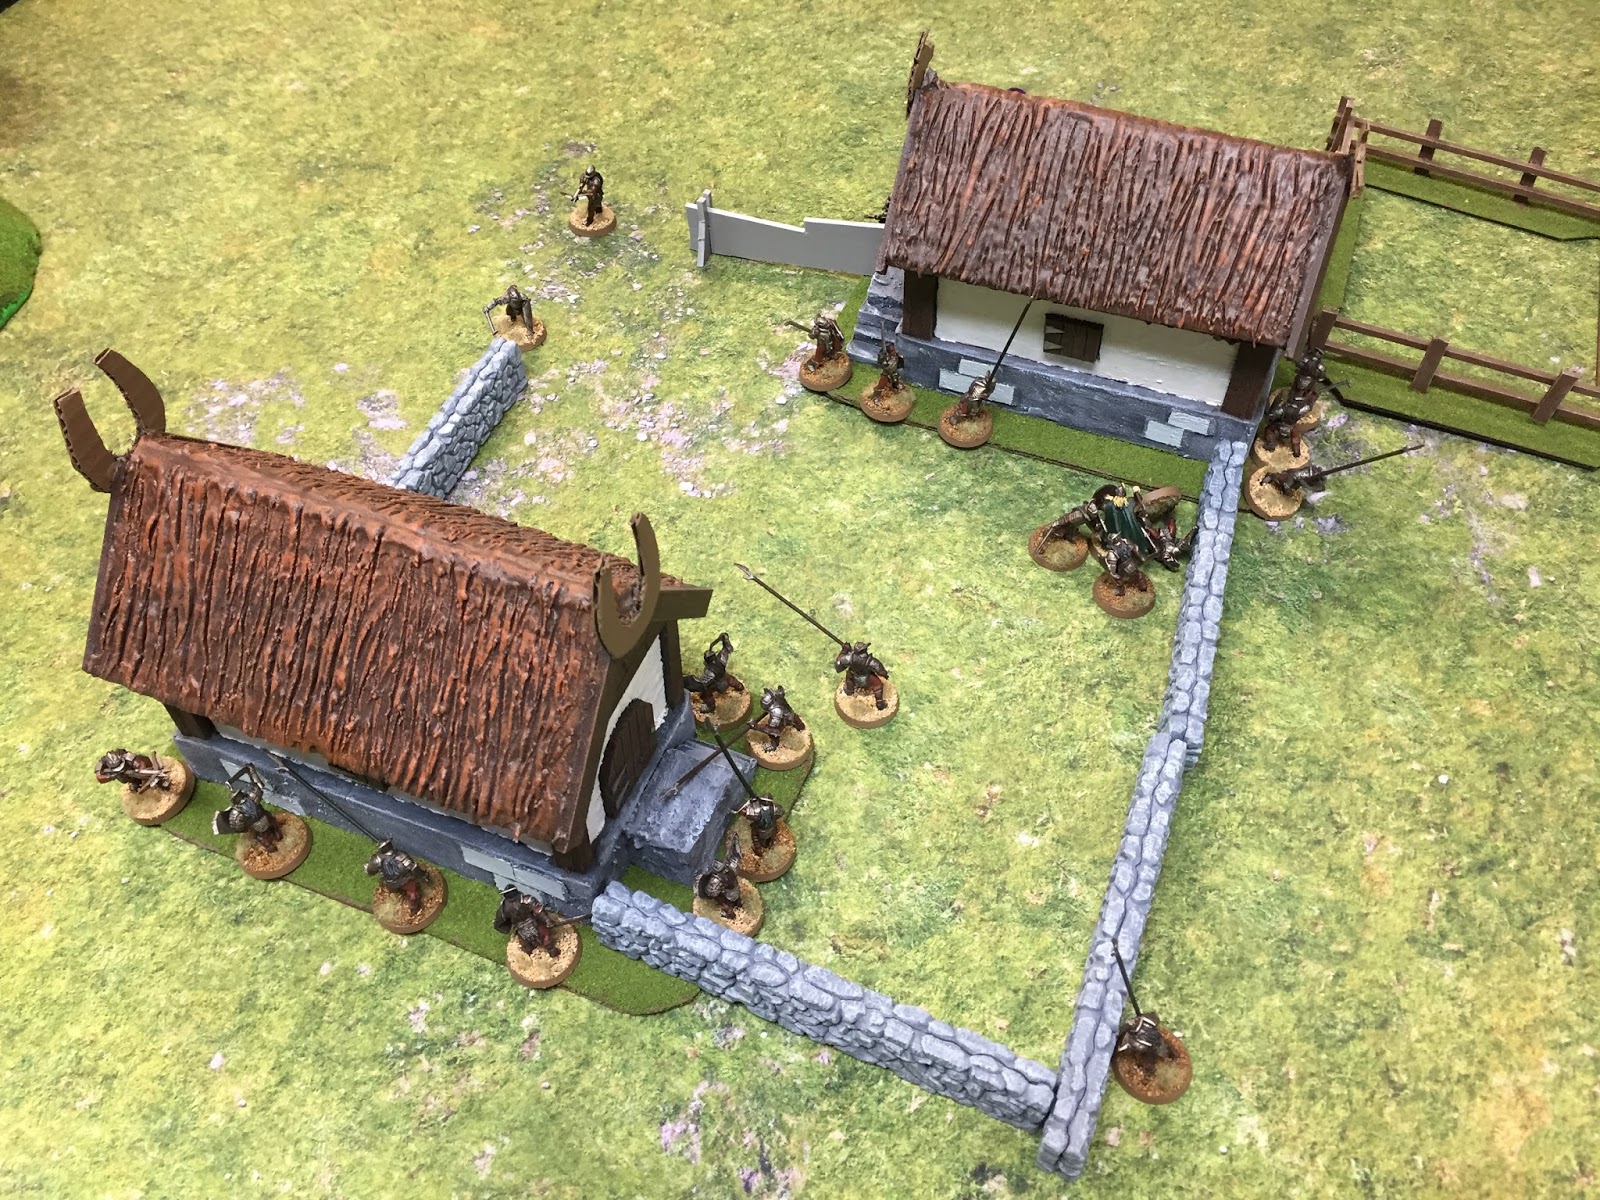
| The forces are arranged for battle |
| The Uruk-hai approach as Dave measures out the movement of the Rohan warrior headed towards the signal beacon. |
| Uruk-hai supported by pikemen approach the village wall while Rohan prepares to receive them. |
| The battle is joined! |
| Uruk-hai have breached the village's defenses! |
| The signal fire is lit! Help must come to Rohan! |
| Rohan falls back to defend the village's building from the flames of Saruman's troops. |
| Surrounded! |
| The forces of Rohan have been slain and the buildings are burned. Victory for Evil! |
Sunday, December 31, 2017
BGiME #9: Painting the Uruk-hai Captain
From a painting point of view, I really enjoy the various Uruk-hai models. They can be quickly painted and deployed on the gaming table, and they're fearsome looking minis. If I was prone to playing Evil, I'd probably go with an Isengard force.
The Uruk-hai Captain was a fast paint and ready to lead his forces against Rohan in a day. There's nothing complicated about the figure and, being largely armored, was mostly drybrushed metallics. He then received a coat of Dark Flesh and was good to go. Taste the man-flesh, of Captain of Evil!
Friday, December 15, 2017
Battle Games in Middle-earth #9 Overview
There’s been a lot happening on the Middle-earth scene of
late. Games Workshop is releasing their new Middle-earth
Battle Companies supplement (bearing the new Middle-Earth Strategy Battle
Game logo!) imminently. Amazon has announced they’re developing
a new series based on the years prior to the Lord of the Rings. I’ve become
a huge fan of the “Exploring
The Lord of the Rings” podcast, and my local gaming group is starting a new
The One Ring campaign next month. So, with Middle-earth excitement waxing
strongly, let’s delve back into this on-going series, shall we?
Battle Games in
Middle-earth #9 starts off with the usual “Guide to Middle-earth” section,
and it’s a short one. It’s also more meta than in previous issues. Little
detail is given to Middle-earth and the chapter instead explains that issue #9
will feature its first Battle Report. In this issue and in #10, a game between
two players will be covered in some detail, describing how events occurred during
the game and the strategy behind the players’ actions. That scenario, included
in this issue, features a band of Uruk-hai assaulting a Rohan village. Unlike
the similar scenario in issue #7, this time, the Rohirrim have a chance of receiving some
powerful reinforcements in the guise of Aragorn, Legolas, and Gimli—assuming they
can hold out that long. We’ll see how that plays out later.
“Playing the Game”continues the trend begun in the previous issue by detailing the various melee
(or mêlée as the European-based
publication prints it) weapons encountered on the battlefields of Middle-earth.
These include hand weapons, two-handed weapons, spears, pikes, and shields. Rules
for each are also provided, bringing a new level of complexity and tactics to
your table. Two-handed weapons, for example, subtract 1 from their rolls during
the Fight phase to determine who wins a battle, but add 1 to all rolls to wound
opponents if the wielder wins the fight. Spears and pikes allow friendly models
to support allies, giving them an additional attack die, but they’re not
considered to be part of the melee when determining certain factors such as who
can be struck by enemies. Shields are great for defense and a model can
actively employ a shield to survive a fight, effectively doubling his dice to
determine the winner, but the model cannot cause wounds if it wins.
The “Battle Game” section includes the scenario “Burn the
Village!” As described above, this scenario pits twelve Warriors of Rohan against
a score of Uruk-hai and their Captain. Normally, as we saw in a previous issue,
the Rohirrim would be hard-pressed to win. Luckily, this battle includes a rule
that allows the Warrior of Rohan to call for reinforcements. If they manage to
light a warning beacon, Aragorn, Legolas, and Gimli, en route to Isengard to
save Merry and Pippin, see the fire and rush to the aid of Rohan. That is, if
the Good player rolls 4 or higher on the turn after the warning beacon is set
alight. Can the Warriors of Rohan survive long enough for the three hunters to
save them or will the Uruk-hai burn down their village and win the battle? We’ll
see how that went on our table in an upcoming post.
Also tacked on to the “Battle Game” chapter is the first
half of the Battle Report. This after-action report describes Turns 1 through 4
of a game between BGiMe writers Mark Latham and Darron Bowley. Rohan is holding
during these early turns and has managed to light the beacon, calling Aragorn
to their aid. But the tide might be turning as a force of Uruk-hai leaps over
the village walls and engages the Warriors in the heart of the settlement. We’ll
see how the forces of Good fare next issue when the Battle Report concludes.
“Painting Workshop” covers two topics. The first is an
overview/refresher course of the various painting techniques we’ve learned in
the previous issues. Dry-brushing, silver edging, washes, using multiple layers
to achieve flat colors, mixing paints, black lining, and basing are all
discussed one final time. This reiteration of techniques will prove handy with
this issue’s model, as it uses most of them to achieve its quality paint job.
The second half of the chapter is the usual step-by-step
instruction for painting issue #9’s included model, a metal Uruk-hai Captain.
Uruk-hai are great models to paint as they are simple to do and can be knocked
out rather swiftly. Which is good, because we have a lot of Uruk-hai to field
in this issue’s Battle Game! With the Uruk-hai Captain in our collection, we’ve
got a strong nucleus for an Isengard army: 10 infantry, Lurtz to lead them, and
now a Captain to assist. Next issue will have more Uruk-hai, bringing our Evil
collection up to 20 Uruk-hai Warriors and two Heroes to lead them. That’s not
bad for ten issues of gaming goodness from our local news merchant!
The issue’s final section, “Modelling Workshop” describes
how to build a great piece of terrain: the Rohan warning beacon.” While
unlikely to get a lot of regular use, the piece is cool looking and has a lot
of character. It’ll likely come in handy down the road once Gondor calls for
aid, but in the meanwhile, it gives your table a wonderful decoration that’s
outside the normal hedges, trees, and walls. I’m sure I can also think of some
new scenarios both in the SBG and other miniature wargames to give me more
excuses to use it.
As usual, the issue’s back cover provides a glimpse into the
future. In two weeks—in the original print run, I mean—we can expect another
sprue of plastic Uruk-hai, the rules for Courage (long overdue in my opinion!),
and the conclusion to the “Burn the Village” scenario and Battle Report. It also
marks our making it out of the single-digit issues. It only took two-and-a-half
years, but it looks like we’re going to do it.
But first, we’ll take a look at how to paint up an Uruk-hai
Captain. See you soon!
Tuesday, September 19, 2017
BGiME #7: Repel the Marauders! Part 2
This scenario was run a second time two weeks ago. A friend
and I play miniature wargames every Tuesday night at a FLGS and I thought it
time to brush the dust off my Lord of the Rings SBG models and get caught up
with this blog. I’ve proposed that the first game night of each month be
dedicated to the SBG and Dave readily agreed. That should keep me up to date on
my painting, building, and working my way through this series.
While the models used in this game are the same as the
previous one, you’ll notice the terrain has enjoyed a slight upgrade. The
buildings are my Rohan-style houses I built a few months back. We’ll cover
those more in a future discussion about "Battle Games in Middle-earth."
| The Warriors of Rohan rush to man the walls around their village. |
| The Uruk-hai slowly advance across the Riddermark. |
| The scent of man-flesh hangs heavy in the air, driving the servants of the White Hand forward! |
| A high view of the battle about to commence. |
| "They are upon us, men!" |
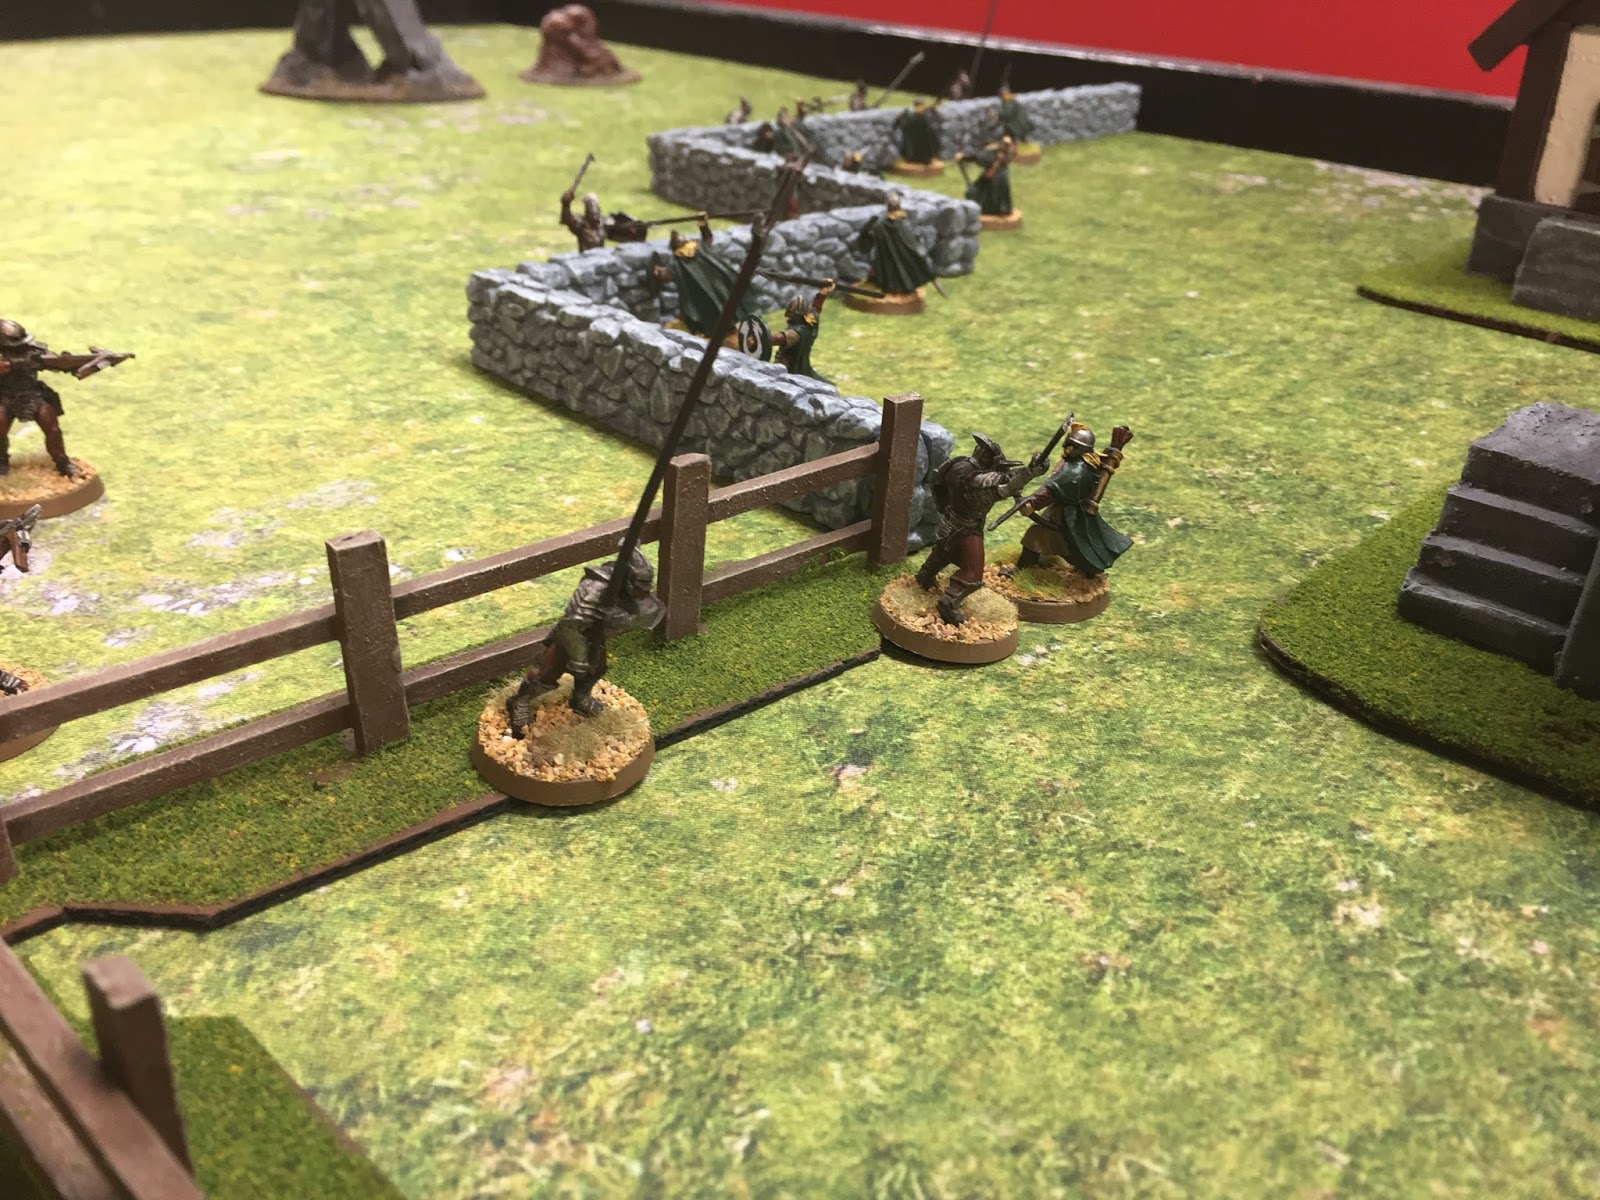
| The Uruk-hai have scaled the fences! |
| Battle rages along the length of the walls. |
| Rohan holds back some of the Uruk-hai, but for how long? |
| Pikeman surge forward to push back the Men of Rohan. |
| The battle reaches a fevered pitch! |
| Rohan begins to falter. |
| Two Uruk-hai engage a single Warrior of Rohan. |
| The melee swirls around the verge of the village as Rohan is overwhelmed. |
| The last Man of Rohan perishes under Uruk-hai numbers. |
| The battle begins anew! |
| The Servants of the White Hand spread their forces about the village boundary. |
| Archers conceal themselves behind the rocks. |
| An early hole in Rohan's defenses is discovered! |
| A solitary Uruk-hai holds his own...briefly. |
| The hole is closed and the Uruk-hai are pushed back! |
| As Rohan begins to fail, I discover I didn't take more photos. |
Even without the Courage rules in play, this scenario is a tough one for Rohan. The Uruk-hai are one of the meanest forces in the original SBG. They are heavily armored, have high Fight score, and are strong, making them tough opponents. Without cavalry to back them up or similarly armored or better fighters on Rohan's side, the odds were stacked against the forces of Good. It will be interesting to see how Rohan fares in a few issues when they gain Heroes to help them and horses to ride. Stay tuned for that in upcoming posts.
Next up: making walls and fences.
Subscribe to:
Posts (Atom)