There’s been a lot happening on the Middle-earth scene of
late. Games Workshop is releasing their new
Middle-earth
Battle Companies supplement (bearing the new Middle-Earth Strategy Battle
Game logo!) imminently. Amazon has announced they’re
developing
a new series based on the years prior to the Lord of the Rings. I’ve become
a huge fan of the
“Exploring
The Lord of the Rings” podcast, and my local gaming group is starting a new
The One Ring campaign next month. So, with Middle-earth excitement waxing
strongly, let’s delve back into this on-going series, shall we?
Battle Games in
Middle-earth #9 starts off with the usual “Guide to Middle-earth” section,
and it’s a short one. It’s also more meta than in previous issues. Little
detail is given to Middle-earth and the chapter instead explains that issue #9
will feature its first Battle Report. In this issue and in #10, a game between
two players will be covered in some detail, describing how events occurred during
the game and the strategy behind the players’ actions. That scenario, included
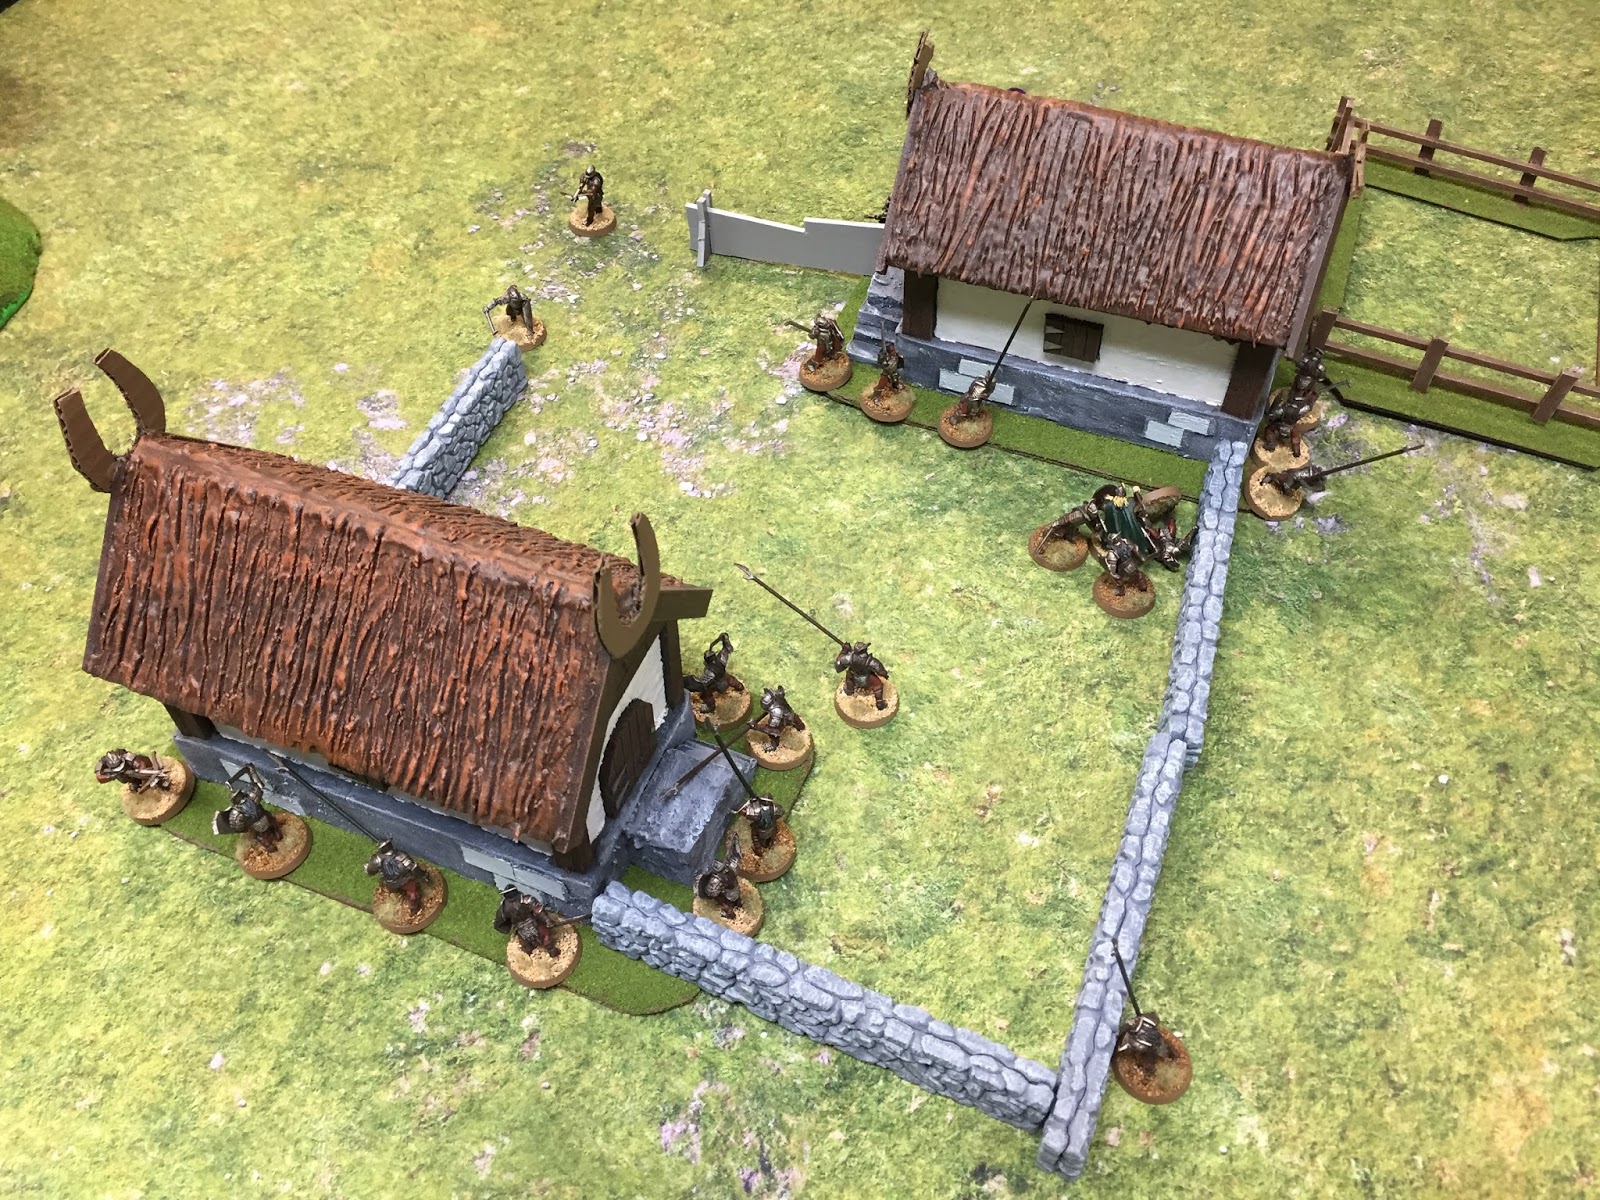
in this issue, features a band of Uruk-hai assaulting a Rohan village. Unlike
the
similar scenario in issue #7, this time, the Rohirrim have a chance of receiving some
powerful reinforcements in the guise of Aragorn, Legolas, and Gimli—assuming they
can hold out that long. We’ll see how that plays out later.
“Playing the Game”continues the trend begun in the previous issue by detailing the various melee
(or mêlée as the European-based
publication prints it) weapons encountered on the battlefields of Middle-earth.
These include hand weapons, two-handed weapons, spears, pikes, and shields. Rules
for each are also provided, bringing a new level of complexity and tactics to
your table. Two-handed weapons, for example, subtract 1 from their rolls during
the Fight phase to determine who wins a battle, but add 1 to all rolls to wound
opponents if the wielder wins the fight. Spears and pikes allow friendly models
to support allies, giving them an additional attack die, but they’re not
considered to be part of the melee when determining certain factors such as who
can be struck by enemies. Shields are great for defense and a model can
actively employ a shield to survive a fight, effectively doubling his dice to
determine the winner, but the model cannot cause wounds if it wins.
The “Battle Game” section includes the scenario “Burn the
Village!” As described above, this scenario pits twelve Warriors of Rohan against
a score of Uruk-hai and their Captain. Normally, as we saw in a previous issue,
the Rohirrim would be hard-pressed to win. Luckily, this battle includes a rule
that allows the Warrior of Rohan to call for reinforcements. If they manage to
light a warning beacon, Aragorn, Legolas, and Gimli, en route to Isengard to
save Merry and Pippin, see the fire and rush to the aid of Rohan. That is, if
the Good player rolls 4 or higher on the turn after the warning beacon is set
alight. Can the Warriors of Rohan survive long enough for the three hunters to
save them or will the Uruk-hai burn down their village and win the battle? We’ll
see how that went on our table in an upcoming post.
Also tacked on to the “Battle Game” chapter is the first
half of the Battle Report. This after-action report describes Turns 1 through 4
of a game between BGiMe writers Mark Latham and Darron Bowley. Rohan is holding
during these early turns and has managed to light the beacon, calling Aragorn
to their aid. But the tide might be turning as a force of Uruk-hai leaps over
the village walls and engages the Warriors in the heart of the settlement. We’ll
see how the forces of Good fare next issue when the Battle Report concludes.
“Painting Workshop” covers two topics. The first is an
overview/refresher course of the various painting techniques we’ve learned in
the previous issues. Dry-brushing, silver edging, washes, using multiple layers
to achieve flat colors, mixing paints, black lining, and basing are all
discussed one final time. This reiteration of techniques will prove handy with
this issue’s model, as it uses most of them to achieve its quality paint job.
The second half of the chapter is the usual step-by-step
instruction for painting issue #9’s included model, a metal Uruk-hai Captain.
Uruk-hai are great models to paint as they are simple to do and can be knocked
out rather swiftly. Which is good, because we have a lot of Uruk-hai to field
in this issue’s Battle Game! With the Uruk-hai Captain in our collection, we’ve
got a strong nucleus for an Isengard army: 10 infantry, Lurtz to lead them, and
now a Captain to assist. Next issue will have more Uruk-hai, bringing our Evil
collection up to 20 Uruk-hai Warriors and two Heroes to lead them. That’s not
bad for ten issues of gaming goodness from our local news merchant!
The issue’s final section, “Modelling Workshop” describes
how to build a great piece of terrain: the Rohan warning beacon.” While
unlikely to get a lot of regular use, the piece is cool looking and has a lot
of character. It’ll likely come in handy down the road once Gondor calls for
aid, but in the meanwhile, it gives your table a wonderful decoration that’s
outside the normal hedges, trees, and walls. I’m sure I can also think of some
new scenarios both in the SBG and other miniature wargames to give me more
excuses to use it.
As usual, the issue’s back cover provides a glimpse into the
future. In two weeks—in the original print run, I mean—we can expect another
sprue of plastic Uruk-hai, the rules for Courage (long overdue in my opinion!),
and the conclusion to the “Burn the Village” scenario and Battle Report. It also
marks our making it out of the single-digit issues. It only took two-and-a-half
years, but it looks like we’re going to do it.
But first, we’ll take a look at how to paint up an Uruk-hai
Captain. See you soon!